Send a letter & save with attachments
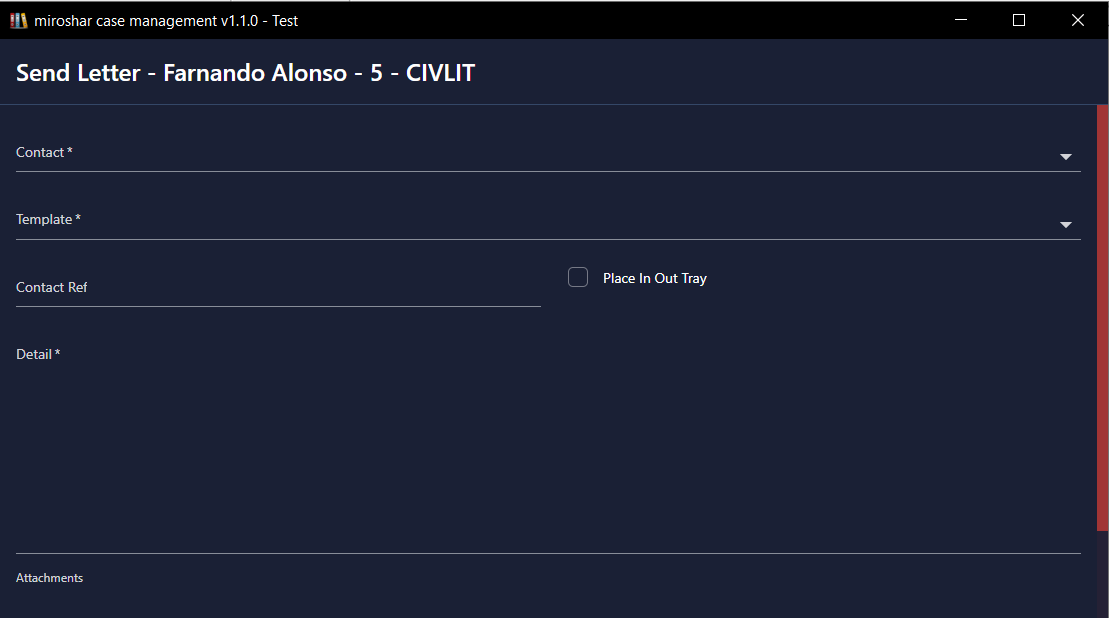
Sending an adhoc letter not connected in anyway to the workflow can be done by clicking on the letter icon. The send letter screen will open and will show the case name and number for which the send letter action is being performed.
The template letters are categorised by contact types which are setup by admin and in the fields setup. The contact drop list will be populated with the contact types with the names of the contact entered into the database.
- Select the contact to who you wish to send a letter.
- From the template drop list, select from the list of templates setup in the workflow setup for that contact.
- The contact reference entered into the contact data will be populated, and the detail will be populated with the template name and description.
Using the buttons the letter can be saved to the history, edited or cancelled. Attachments can also be added to the letter from the document items in the history of the case.
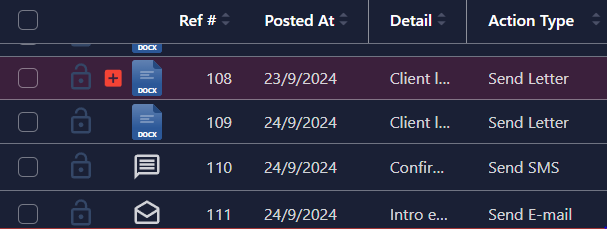
- Save - The letter will be saved to the history without any editing, but the letter item will be available for editing for up to 48 hours after this time the letter will be locked. After this time when the letter is locked it cannot be edited, the letter can be generated from the template again and edited, printed and saved to the history.
-
Attachments - This button will open an attachments window and will show a list of the history items, documents and letters. The list can be searched by entering the search criteria or text and clicking the search icon and double clicking on a document will display the document in the preview panel. The checkbox at the side of the items list will mark the item to be added to the letter as an attachment.
- Click the down arrow to move the marked items into the attachments panel.
- Clicking the checkboxes next to the documents in the attachments panel marks them and clicking the up arrow will move them out of the attachments panel.
- Click save to save the attachments to the document.
- Click edit to open the document editor to edit the document.
- Click save to save the document to the case history.


