Mail in
Documents, emails and any other item can be saved onto the history by simply dragging the item in the history panel of the open case. The import file window opens with the document name populated in the document description. Emails from the sent box and inbox can be dragged onto the history and the incoming email or sent email window will open allowing the default document description to be changed for the history description. Any attachments to the sent or inbox emails will also be saved.
The case management application is compatible with microsoft outlook and libre office email clients.
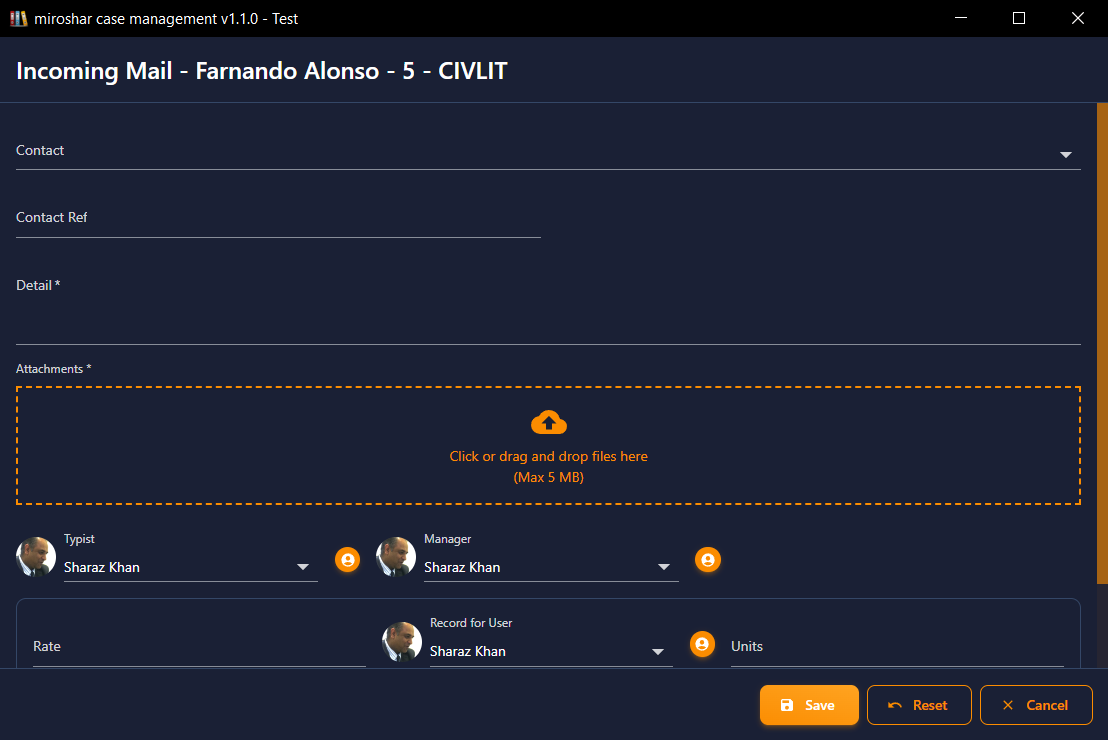
The mail in button allows management of physical incoming mail which is scanned to be placed into the in tray of the case until the incoming mail is dealt with. The items in the in tray can then be actioned and will be moved to the case history.
- Click the mail in icon to open in the incoming mail window.
- To link the incoming mail item to a contact in the case the contact drop list can be used to select the contact. The contact reference is populated automatically.
-
The mail item can be dragged onto the upload area in the window or clicking in the area will open the file open window, allowing the user to locate the file to be uploaded.
- The detail field will automatically be populated with the item name, to be used for the history description.
- The user logged in will be selected and if required a number for time units can also be added.
- Clicking the save button will save the incoming mail item to the in tray.

