Outlook inbox & sent items
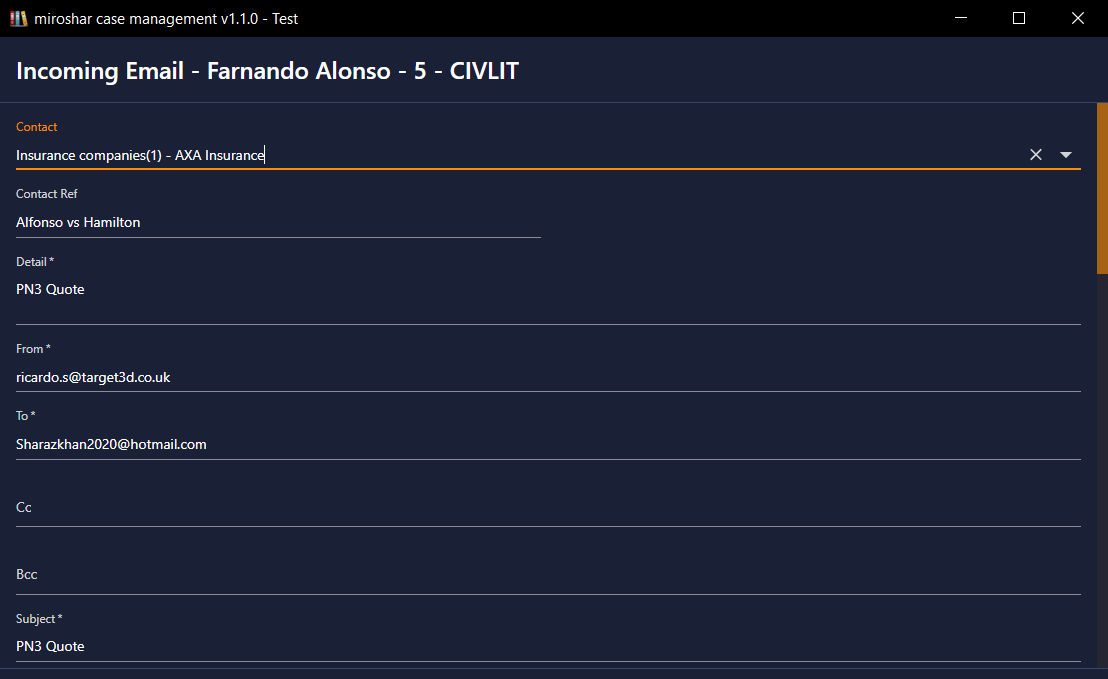
Case management works with popular email clients such as Microsoft Outlook, Thunderbird and other mail clients. You can drag and drop from the sent and inbox items of these clients directly onto the case history screen and an incoming/outgoing mail screen will open.
- The contact drop list can be used to lick the item to a case contact if required and the contact reference field will automatically populate with the reference of the contact.
-
The detail field will be populated with the subject line of the email item, along with the from and to fields showing who sent the email item and to whom it was sent.
-
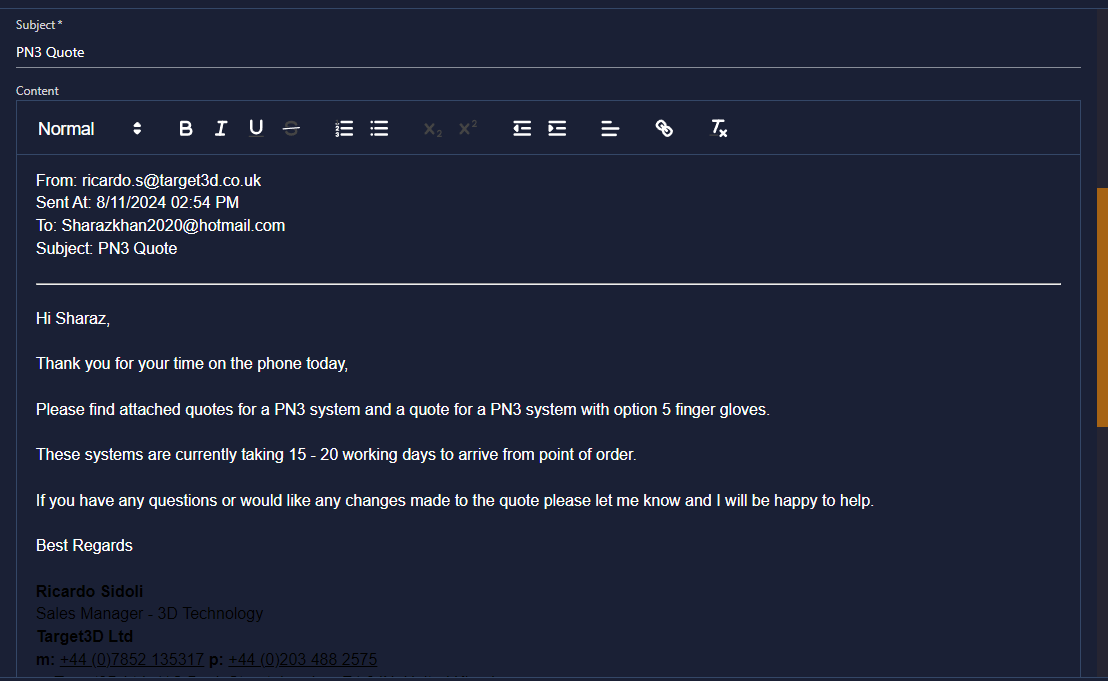
In the content field, the information from the mail client will be displayed, showing from email address, date and time sent, to email address item was sent to and the subject of the email. The body of the email will also be displayed.
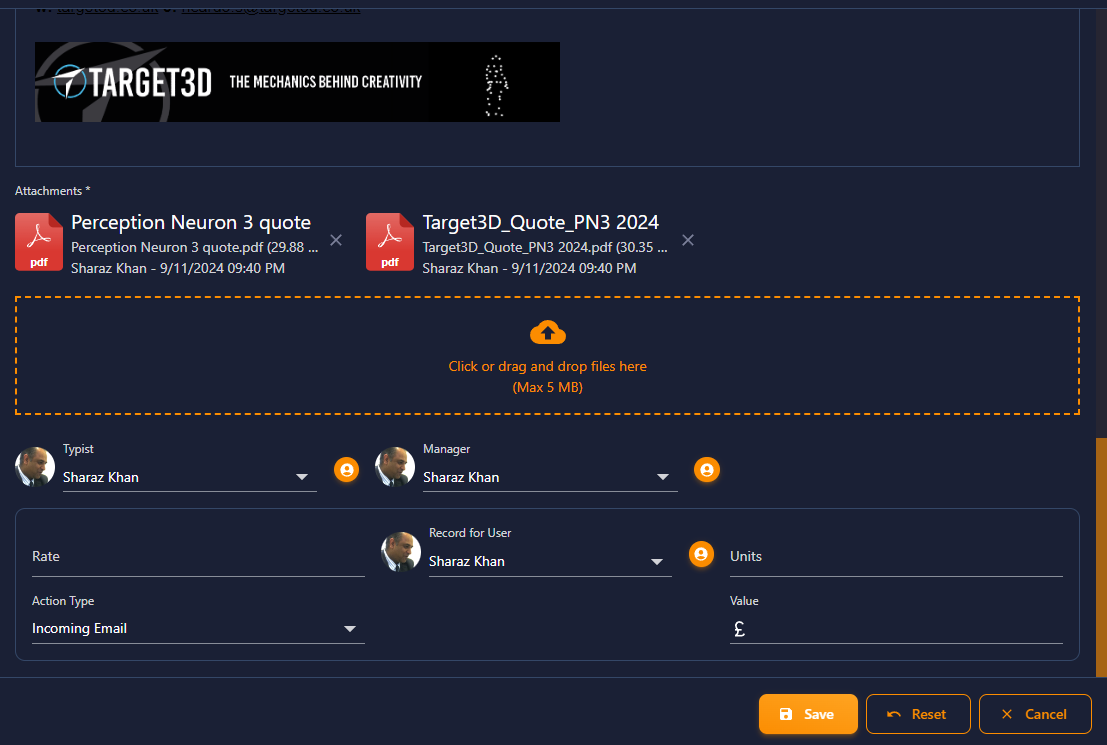
- The attachments field will display any attachments of the email item.
-
Other attachments can be attached by dragging onto the upload area or clicking the area and browsing the file system to open an item.
-
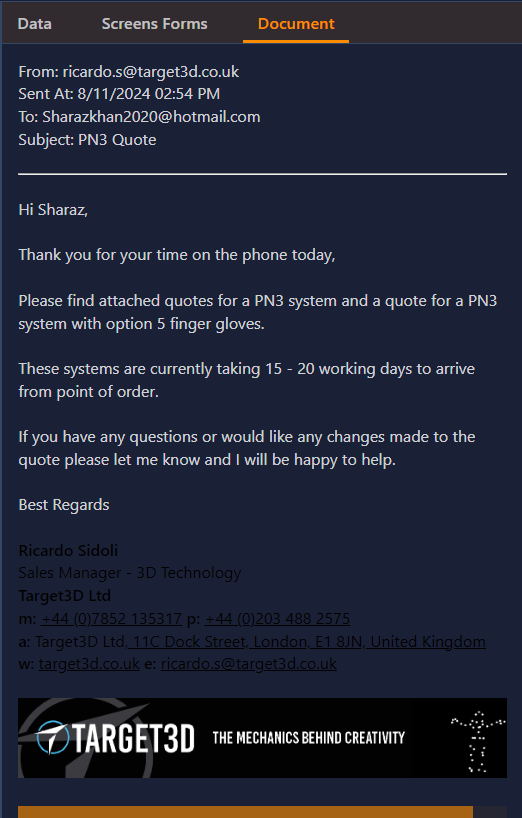
The document panel of the history window will display the email header with the email from address, sent date and time, email address to and subject of the email and the body text of the email.
- The history main panel will display the item in the history list and the [+] icon will be present for attachments to be viewed.
- The history list will display the email item as an incoming email category, which can be searched with the history search tool.
-
If a sent item is dragged onto the history panel of the case from the sent box of the email client, the item will be categorised as sent email.


